How to download and run Android Emulator via Command Line on Windows

The Android SDK includes a mobile device emulator which allows us to run android virtual device on our computer. In this article, I will show you how to create and run an android virtual device on Windows using command line. We will use the latest system image for our virtual device by using Android SDK. So let's get started! Follow the steps listed below:
- First, we need to ensure that Java is installed on your computer. If not, then download Java from the following link - http://java.com/en/download/index.jsp.

- Next, we need to download Android SDK from the following link - http://developer.android.com/sdk/index.html.


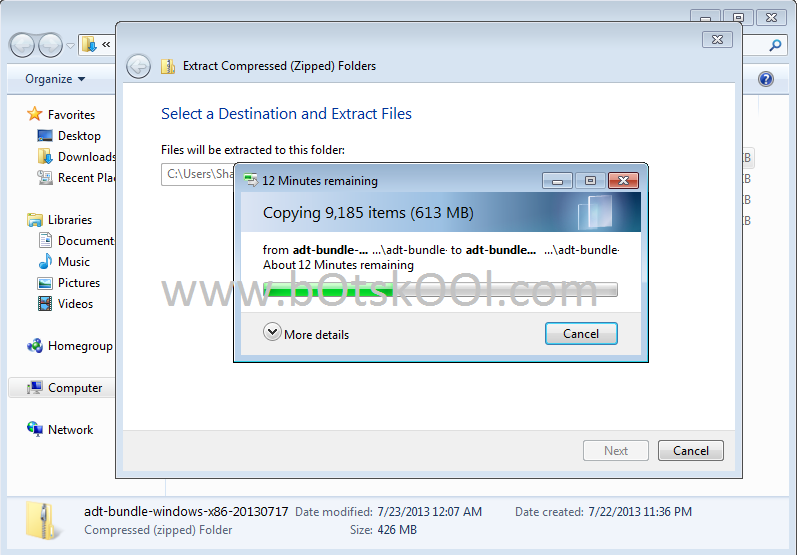
- Extract the downloaded Android SDK zip file.

- Note down the path of the directory where you have downloaded the Android SDK. For example, here it is: C:\Users\Shashwat\Downloads\adt-bundle-windows-x86-20130717\adt-bundle-windows-x86-20130717

- Click on Windows Start button and then search for Run program. Next, type in cmd as shown below:

- In command line window, navigate to the directory where you have downloaded Android SDK (discussed above):

- Next, navigate to the tools folder present inside sdk folder as shown below:

- Next, type the following command: android avd. This launches Android Virtual Device Manager.

- Click on the New button to create a new android virtual device.

- Set the properties of this new Android Virtual Device and click on OK, as shown below:

- Now, click on the Start button in Android Virtual Device Manager, as shown below:

- Next, click on the Launch button:

- You will now see that your device is getting started.

- Finally, you will see your new Android Virtual Device ready to be used. Now you should be able to interact with it!


